Trezor.io/Start 2025 — Complete Guide to Devices, Setup & Secure Access
Discover the latest updates to trezor.io/start, Trezor’s official onboarding portal. This guide covers device setup, walkthroughs, product comparisons, FAQs, and security tips — perfect for beginners and mid-level crypto users.
Trezor, one of the pioneers in hardware wallet security, has updated its setup portal, trezor.io/start, for 2025. The portal now offers a more intuitive flow, clearer security guidance, and device-specific instructions for Trezor One and Trezor Model T. Whether you’re accessing crypto for the first time or upgrading your device, understanding how to navigate trezor.io/start is crucial for safe crypto self-custody.
In this article, we cover everything: from new product features, step-by-step setup walkthroughs, advanced tips for mid-level users, and frequently asked questions. We’ll also highlight important 2025 updates that improve user experience and security.
💡 Quick Security Tip
Always access trezor.io/start by typing it directly in your browser. Avoid links from emails, social media, or third-party websites.
Trezor Product Line (2025 Overview)
Trezor offers two primary hardware wallets designed for different user needs:
Trezor One
Ideal for beginners. Affordable, secure, and supports multiple cryptocurrencies.
- USB connection
- Compact, lightweight design
- Supports major crypto coins and tokens
Trezor Model T
Premium device for advanced users. Touchscreen interface and broader coin support.
- Touchscreen interface
- Supports more than 1,800 coins and tokens
- Passphrase protection and advanced security features
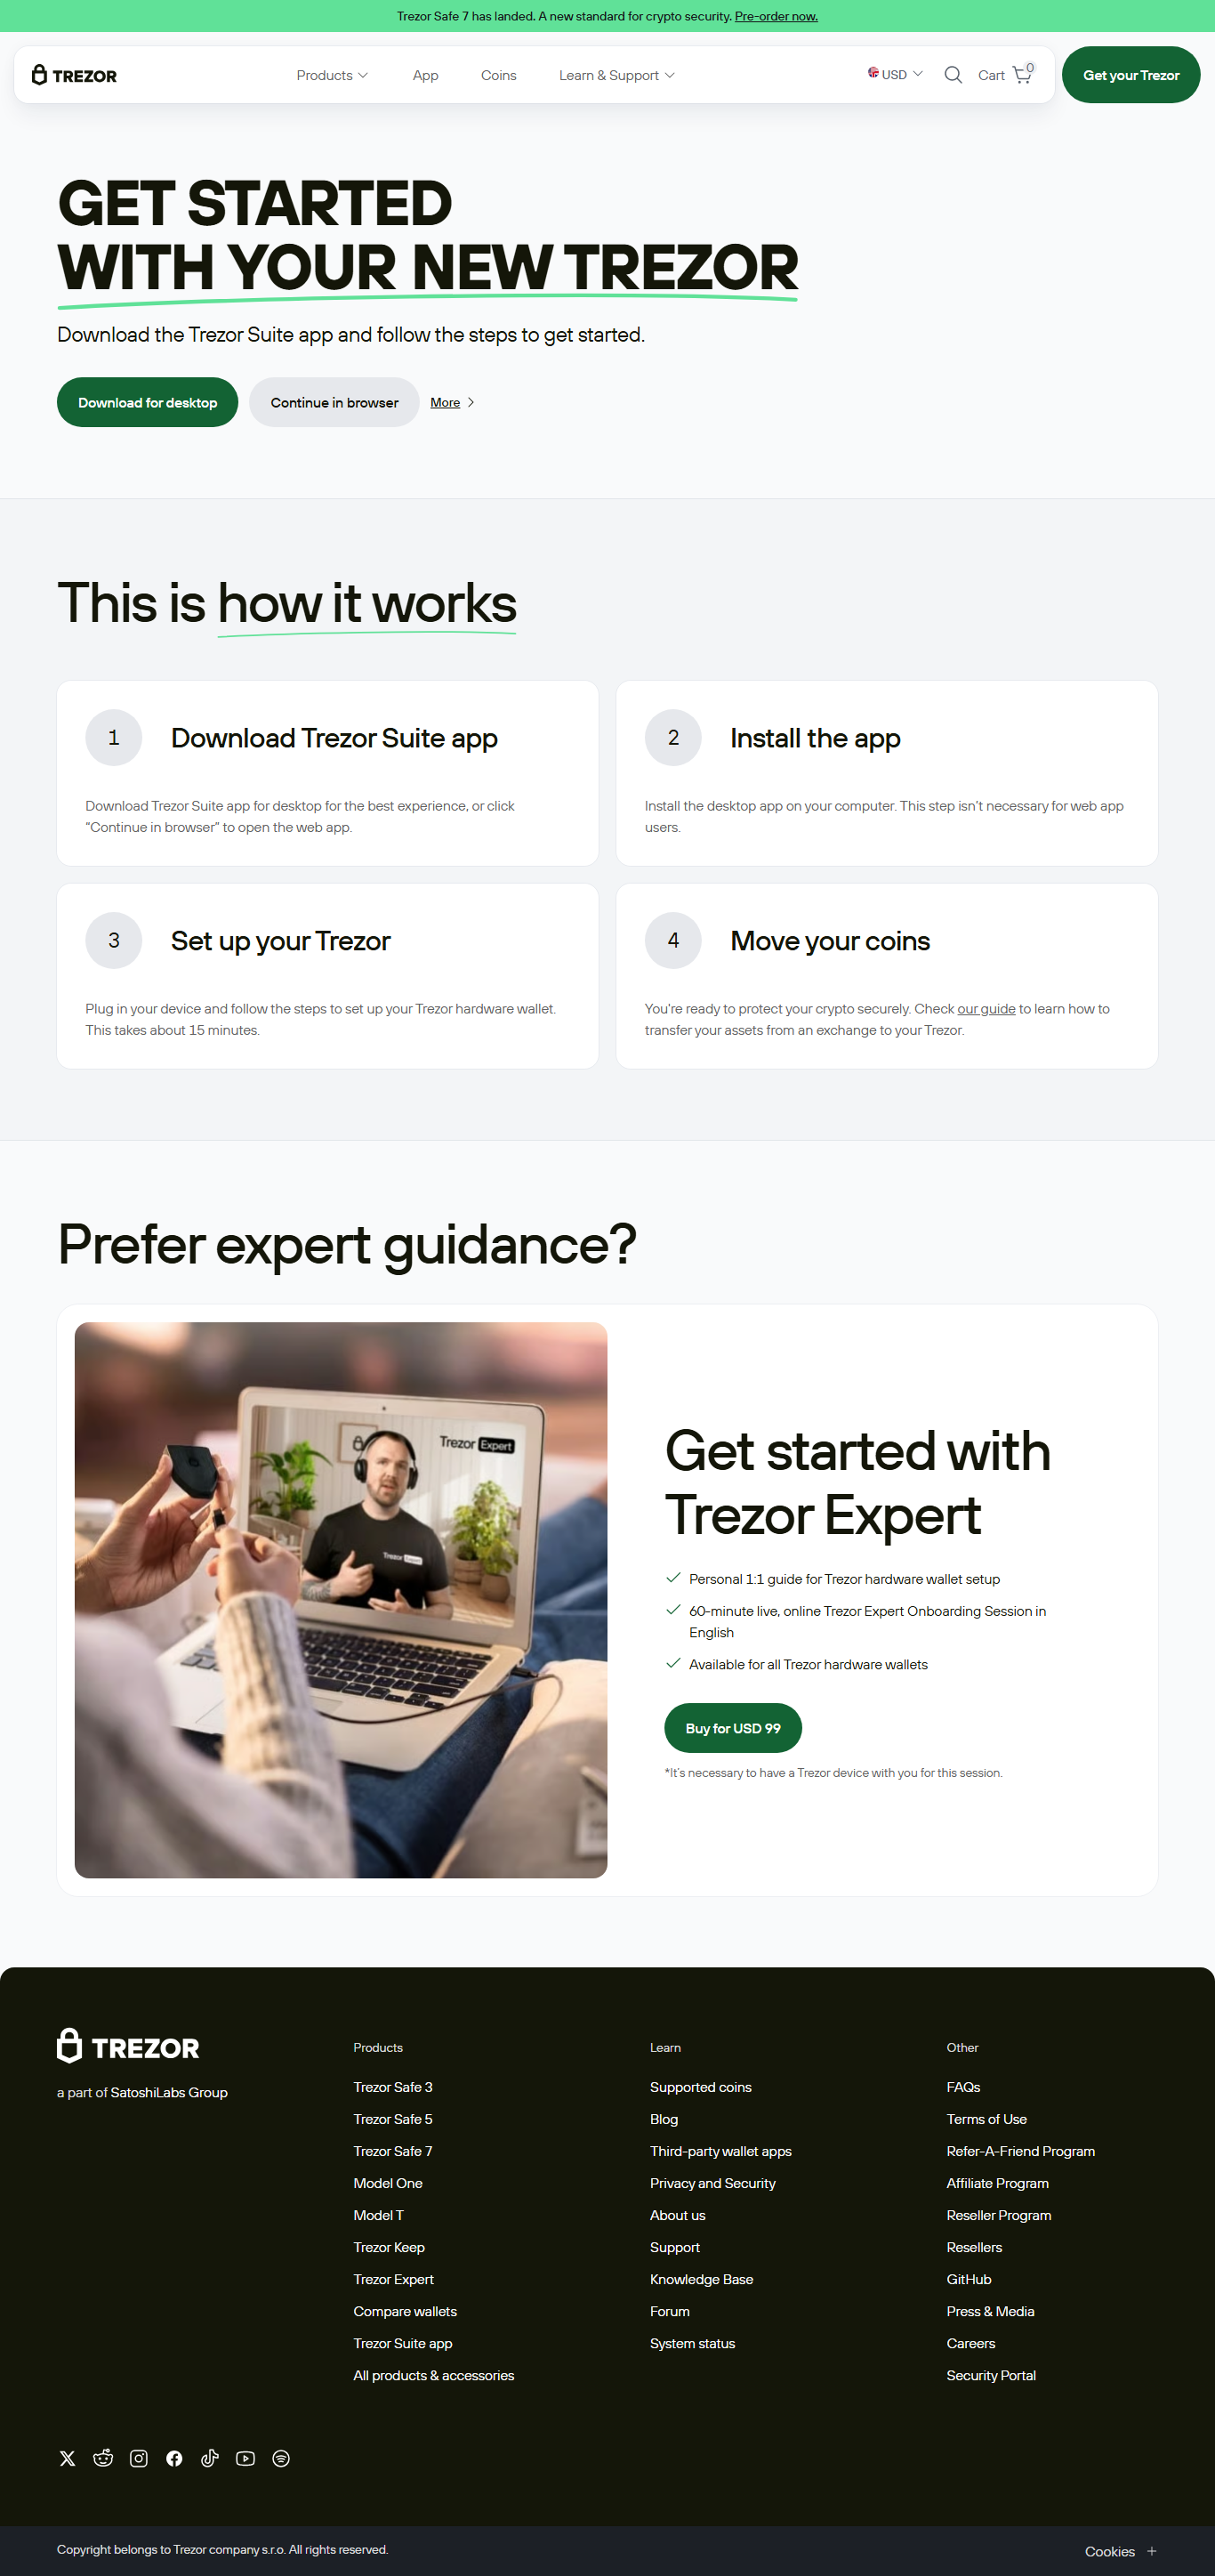
Trezor.io/Start Walkthrough
The 2025 version of trezor.io/start simplifies setup with step-by-step guidance and visual aids. Here’s the official process:
- Navigate to trezor.io/start manually.
- Select your device model (Trezor One or Model T).
- Download the latest version of Trezor Suite.
- Connect your Trezor device via USB.
- Follow the on-screen instructions to set a PIN.
- Write down your recovery seed carefully.
- Confirm seed words on the device.
- Install coin apps and add accounts in Trezor Suite.
- Optional: Enable passphrase for added security.
⚠️ Security Reminder
Never store your recovery seed digitally. Physical storage (paper or metal plate) is the only safe method. Trezor will never ask for your seed online.
Troubleshooting Common Trezor.io/Start Issues
Device Not Detected
Check USB connections, restart Trezor Suite, or use another port/cable.
Forgot PIN
Device wipes after three failed attempts. Restore using your recovery seed.
Firmware Update Required
Follow prompts in Trezor Suite to safely update firmware.
Trezor One vs Model T Comparison
| Feature | Trezor One | Model T |
|---|---|---|
| Display | Two small buttons | Touchscreen |
| Supported Coins | ~1,600 coins | ~1,800+ coins |
| Passphrase Support | Optional | Optional & advanced |
| Price | Affordable | Premium |
Advanced Tips for Trezor Users
- Use passphrase wallets for extra hidden accounts.
- Maintain separate devices for long-term holdings and active trading.
- Always verify addresses on the device before sending crypto.
- Keep Trezor Suite updated for optimal login and management experience.
- Use physical storage for your recovery seed.
Trezor.io/Start FAQ (2025)
❓ Can I restore Trezor on a new device?
Yes — using your recovery seed via Trezor Suite.
❓ Is trezor.io/start safe?
Yes, as long as you type the URL manually. Avoid links from unknown sources.
❓ Can I use Trezor with DeFi platforms?
Yes — Trezor Suite integrates with Web3 wallets like MetaMask.
❓ Does Trezor store my private keys online?
No — all keys remain offline inside the device.
❓ What if I lose my device?
You can restore funds using your 12/24-word recovery seed on another Trezor.
Final Thoughts
The 2025 updates to trezor.io/start make onboarding, setup, and secure access simpler and safer than ever. Whether you’re a beginner buying Trezor One or an advanced user with Model T, following the official portal ensures your crypto stays secure.
By understanding the step-by-step walkthrough, device differences, and security practices, you can confidently manage multiple crypto assets, DeFi positions, and NFT collections while minimizing risk.